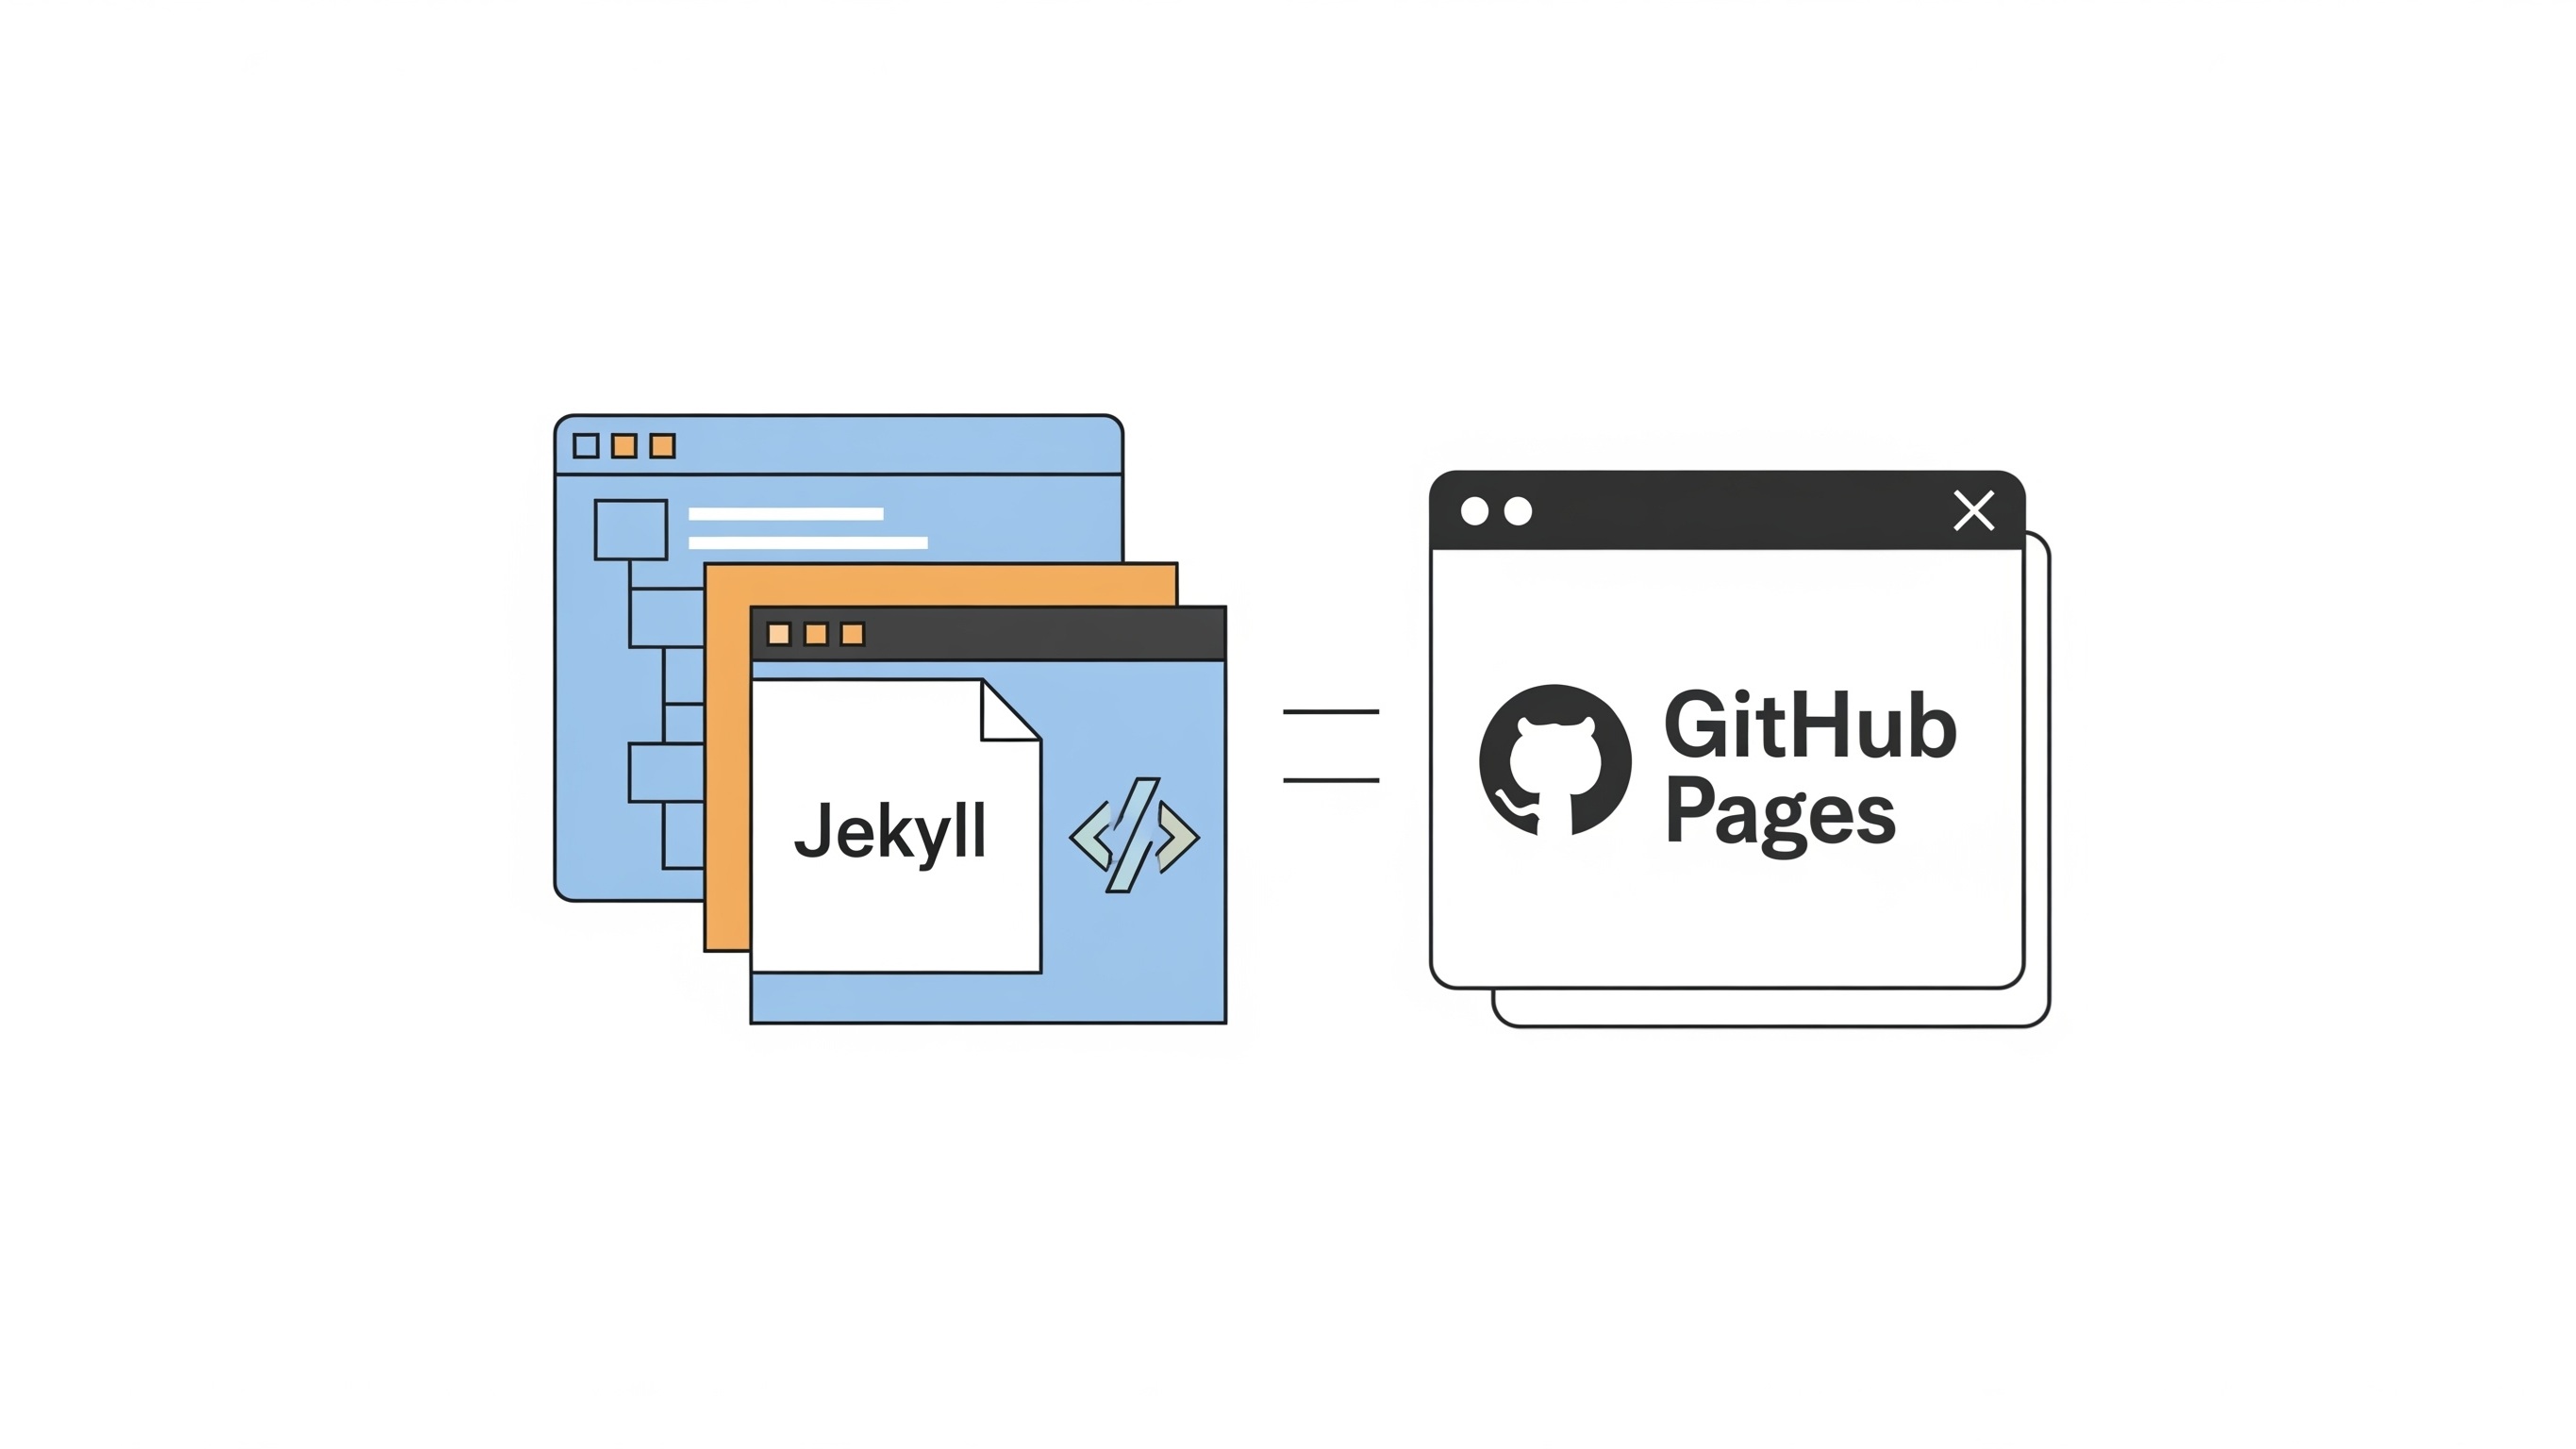
GitHub Pages provides a fantastic platform for hosting static websites directly from a GitHub repository. Among the many ways to build these static sites, Jekyll stands out as a powerful and flexible static site generator. For anyone looking to host their Jekyll-powered blog or project on GitHub Pages, understanding how to configure your _config.yml file is paramount. This central configuration file acts as the brain of your Jekyll site, dictating everything from site-wide variables to plugin usage and permalink structures. Without a properly configured _config.yml, your site might not build correctly, display as intended, or even function at all on GitHub Pages.
The beauty of Jekyll lies in its simplicity and extensibility. However, this flexibility also means there are specific considerations when deploying to an environment like GitHub Pages, which has its own set of requirements and limitations. While Jekyll offers a vast array of configuration options, we'll focus on those most relevant to ensuring a smooth and compatible build process for GitHub Pages. This includes setting the correct base URL, handling plugins, configuring theme settings, and understanding the implications of different build environments. By meticulously configuring your _config.yml, you can unlock the full potential of Jekyll on GitHub Pages, ensuring your content is presented exactly as you envision it.
What are the Essential _config.yml Settings for GitHub Pages Compatibility?
When preparing your Jekyll site for deployment on GitHub Pages, several key settings within your _config.yml file demand your attention. These settings are crucial for ensuring that your site builds correctly, links function as expected, and assets are loaded properly. Neglecting any of these can lead to broken links, missing styles, or an entirely unrendered site.
How Do You Set the Base URL for GitHub Pages?
One of the most critical settings for GitHub Pages compatibility is the baseurl. GitHub Pages typically hosts sites at a subpath of your GitHub username or organization name, such as yourusername.github.io/your-repository-name. If your site is hosted at the root of a custom domain (e.g., [tautan mencurigakan telah dihapus]), then baseurl can often be left empty. However, for project pages, it's essential to set the baseurl to your repository name, prefixed with a forward slash. For instance, if your repository is named my-blog, your _config.yml should include:
baseurl: "/my-blog"
This tells Jekyll to prepend /my-blog to all relative URLs generated within your site, ensuring that links to pages, images, and stylesheets work correctly when deployed to the subpath. Without this, your site's assets would try to load from the root of yourusername.github.io, leading to 404 errors. It is also important to remember that the baseurl should not include the protocol or the domain name, only the path segment.
How Do You Configure the URL for Your GitHub Pages Site?
Complementary to baseurl is the url setting. This variable should represent the full URL to your site, including the protocol (http:// or https://) and the domain name. For GitHub Pages, this would typically be your GitHub Pages URL. For a user or organization page, it might be:
url: "https://yourusername.github.io"
For a project page, the url would often combine with the baseurl in your generated links, so it would be:
url: "https://yourusername.github.io"
baseurl: "/your-repository-name"
The combination of url and baseurl is used by Jekyll to construct absolute URLs, which are particularly useful for sitemaps, RSS feeds, and social media sharing. While baseurl handles the internal linking within your subpath, url provides the complete address for external references. Ensuring both are correctly set is vital for SEO and overall site discoverability.
What are the Key Site Variables to Define in _config.yml?
The _config.yml file is also the ideal place to define site-wide variables that you can then access throughout your Jekyll templates. These variables make it easy to manage information like your site's title, description, author, and even social media links. Using variables ensures consistency and simplifies updates; if you need to change your site's title, you only change it in one place.
title: "My Awesome Jekyll Blog"
email: "your_email@example.com"
description: "A blog about web development, technology, and life."
author: "John Doe"
github_username: "yourusername"
twitter_username: "yourtwitterhandle"
These variables can then be accessed in your Liquid templates using the site object, for example, {{ site.title }} or {{ site.author }}. This approach promotes a DRY (Don't Repeat Yourself) principle, making your site more maintainable and less prone to errors.
How Do You Manage Jekyll Themes and Plugins for GitHub Pages?
Jekyll's power is significantly enhanced by its theme and plugin ecosystem. However, GitHub Pages has specific limitations regarding which plugins it supports. Understanding these limitations and how to properly configure themes is crucial for a successful deployment.
Which Jekyll Plugins are Supported by GitHub Pages?
GitHub Pages builds your Jekyll site in a "safe" mode, meaning it only allows a specific whitelist of plugins for security reasons. This is a critical point to remember, as using an unsupported plugin will cause your build to fail on GitHub Pages, even if it works perfectly locally. The list of supported plugins can be found on the GitHub Pages documentation, but generally includes common ones like jekyll-feed, jekyll-sitemap, jekyll-seo-tag, and jekyll-remote-theme. If you require functionality not offered by the whitelisted plugins, you have a few options: generate your site locally and push the compiled _site directory to GitHub, use a custom build process with a service like Netlify, or find an alternative approach that doesn't rely on a non-whitelisted plugin.
To enable supported plugins, you add them to the plugins or gems array in your _config.yml:
plugins:
 * jekyll-feed
 * jekyll-sitemap
 * jekyll-seo-tag
It's always a good practice to test your site locally with the same environment as GitHub Pages if possible, or at least be aware of the supported plugin list to avoid build failures. The error messages from GitHub Pages builds can sometimes be obscure, so proactively checking plugin compatibility saves a lot of debugging time.
How Do You Configure Jekyll Themes for GitHub Pages?
Jekyll themes allow you to quickly change the look and feel of your site without rewriting all your templates. GitHub Pages supports themes, and you can specify your theme in _config.yml using the theme or remote_theme key.
For themes installed as a Ruby gem (the most common method):
theme: minima
For themes hosted on GitHub that you want to include directly from their repository using jekyll-remote-theme (which must be enabled as a plugin):
remote_theme: "username/repositoryname"
Using remote_theme is particularly useful if you're developing a theme or want to use a theme that isn't available as a gem. Remember that if you use remote_theme, you must also list jekyll-remote-theme under your plugins.
Customizing theme variables is also done within _config.yml. Many themes expose configuration options that allow you to modify colors, fonts, and other aspects of the theme directly from your _config.yml, without needing to override individual theme files. Consult your chosen theme's documentation for specific customization options.
What are Advanced Configuration Options for Jekyll on GitHub Pages?
Beyond the essential settings, Jekyll offers a wealth of advanced configuration options that can fine-tune your site's behavior, optimize its performance, and enhance the user experience. While not all are strictly necessary for a basic GitHub Pages deployment, understanding them can provide greater control over your site.
How Do You Configure Permalinks for SEO and User Experience?
Permalinks define the URL structure for your posts and pages. A well-structured permalink strategy is crucial for both search engine optimization (SEO) and user experience. Jekyll provides several built-in permalink styles, and you can also create custom structures. The permalink setting in your _config.yml allows you to specify this:
permalink: /:categories/:year/:month/:day/:title/
Common permalink options include:
date:/2023/07/28/my-awesome-post.htmlpretty:/2023/07/28/my-awesome-post/ordinal:/2023/209/my-awesome-post.html(based on day of year)none:/my-awesome-post.html
For SEO purposes, clean, human-readable URLs are generally preferred. Using the pretty style or a custom structure that includes keywords from your post title can be beneficial. Remember that changing permalink structures after your site has been indexed by search engines can lead to broken links, so it's best to decide on a structure early in your site's development.
How Can You Exclude Files and Directories from Your Jekyll Build?
Sometimes you have files or directories in your repository that you don't want Jekyll to process or include in your final static site. This could include source files, draft posts, or build scripts. The exclude and include settings in _config.yml allow you to precisely control which files and directories are processed by Jekyll.
exclude:
 * Gemfile
 * Gemfile.lock
 * .idea/
 * .vscode/
 * vendor/
 * Rakefile
   include:
 * .well-known/
Files and directories listed under exclude will be completely ignored by Jekyll during the build process. This is particularly useful for development-related files or sensitive information that shouldn't be publicly accessible. Conversely, include can be used to explicitly tell Jekyll to process certain files or directories that would otherwise be ignored (e.g., dotfiles).
How Do You Configure Collections for Structured Content?
Beyond standard posts and pages, Jekyll allows you to organize custom content types into "collections." This is incredibly powerful for managing structured content like portfolios, testimonials, or projects. Each collection can have its own default front matter, permalink structure, and output settings. To define a collection, you add it to your _config.yml:
collections:
projects:
output: true
permalink: /projects/:name/
staff:
output: false # Don't output these as individual pages
In this example, projects will be output as individual pages, while staff will not, but their data will still be accessible within your templates. For each collection, you can specify whether it should be output as individual pages (output: true/false) and define its permalink structure. This provides a highly flexible way to manage diverse content types on your site, keeping your content organized and your templates clean.
What are the Performance and Optimization Considerations for GitHub Pages?
While GitHub Pages provides a robust hosting environment, optimizing your Jekyll site for performance is always a good idea. Faster loading times improve user experience, reduce bounce rates, and can positively impact your search engine rankings.
How Can You Optimize Image Assets?
Images often account for a significant portion of a website's page weight. Optimizing your images before deploying to GitHub Pages can dramatically improve loading times. This involves:
- Resizing: Ensure images are no larger than their display dimensions. Avoid uploading high-resolution images meant for print.
- Compression: Use image compression tools (e.g., TinyPNG, ImageOptim) to reduce file size without significant loss of quality.
- Format Selection: Choose appropriate image formats. JPEG is generally good for photographs, while PNG is better for images with transparency or sharp lines. WebP offers excellent compression and quality, but browser support may vary (though it's becoming widely adopted).
While Jekyll itself doesn't offer built-in image optimization, you can integrate external tools into your workflow or use pre-processing scripts before pushing to GitHub. For instance, you could run a script that optimizes all images in your assets/images directory every time you commit.
How Can You Minify CSS and JavaScript Files?
Minification is the process of removing unnecessary characters (like whitespace, comments, and line breaks) from code files without changing their functionality. This reduces file size, leading to faster download and parsing times for browsers. While Jekyll doesn't natively minify CSS or JavaScript, you can use build tools like Gulp, Grunt, or Webpack in your local development environment to minify these assets before pushing them to your GitHub repository. Many Jekyll themes also come with built-in minification processes or use external build steps.
Alternatively, you can consider using a Content Delivery Network (CDN) for frequently used libraries like jQuery or Bootstrap, which often serve minified versions from geographically distributed servers, further speeding up load times for your users.
How Do You Leverage Browser Caching?
Browser caching allows a user's web browser to store copies of static assets (like CSS, JavaScript, and images) locally. When the user revisits your site, these assets are loaded from their local cache instead of being downloaded again, resulting in much faster page loads. GitHub Pages inherently handles some aspects of caching through HTTP headers. While you don't directly control these headers via _config.yml, ensuring your static assets have appropriate file names (e.g., including a hash in their name if they change frequently) can help browsers know when to fetch a new version versus using a cached one. This is often handled automatically by Jekyll's asset pipeline or by minification/bundling tools.
For more advanced caching strategies, you might need to look beyond GitHub Pages to services that offer more granular control over HTTP headers, but for most Jekyll sites hosted on GitHub Pages, the default caching behavior is sufficient.
What are Common Troubleshooting Tips for Jekyll on GitHub Pages?
Despite careful configuration, you might encounter issues when deploying your Jekyll site to GitHub Pages. Understanding common pitfalls and debugging strategies can save you a lot of frustration.
Why is My Site Not Building on GitHub Pages?
The most common reason for a Jekyll site failing to build on GitHub Pages is the use of an unsupported plugin. As mentioned earlier, GitHub Pages operates in a "safe" mode with a whitelisted set of plugins. If you're using a plugin not on this list, your build will fail. To check if this is the issue, review the GitHub Pages build logs. You can access these logs by going to your repository on GitHub, navigating to the "Actions" tab, and looking for the GitHub Pages build workflow. The logs will typically pinpoint the exact error.
Other reasons for build failures include syntax errors in your _config.yml or front matter, missing dependencies, or incorrect file paths. Always test your site locally using bundle exec jekyll serve before pushing to GitHub to catch many of these errors early.
Table: Common Jekyll Build Errors on GitHub Pages and Their Solutions
| Error Symptom | Probable Cause | Solution |
|---|---|---|
| Site fails to build, plugin error in logs | Using a Jekyll plugin not whitelisted by GitHub Pages. | Remove the unsupported plugin, find an alternative, or build locally and push _site. |
| 404 errors for CSS/JS/images | Incorrect baseurl in _config.yml for project pages. |
Ensure baseurl: "/your-repository-name" is correct for project pages. |
| Site content not appearing or malformed | YAML syntax error in _config.yml or post front matter. |
Check YAML syntax carefully, use a YAML linter. |
| Local build works, GitHub Pages doesn't | Difference in Jekyll versions or gem dependencies between local and GitHub Pages. | Ensure your Gemfile.lock is committed and up-to-date with GitHub Pages' Jekyll version. |
How Do You Debug Missing Styles or Broken Images?
If your site builds successfully but appears without styles, has broken images, or links don't work, the most likely culprit is an incorrect baseurl. This is particularly common for project pages (e.g., yourusername.github.io/your-repository-name). Jekyll generates relative paths based on your baseurl. If it's incorrect, your browser will look for assets in the wrong location, resulting in 404 errors in the browser's developer console.
To debug:
- Open your browser's developer tools (usually F12 or Cmd+Option+I).
- Go to the "Network" tab.
- Refresh the page. Look for 404 errors (red entries) for your CSS, JavaScript, or image files.
- Inspect the URL of the failing requests. Does it match the expected path on GitHub Pages? If it's trying to load from the root when it should be from a subpath, your
baseurlis likely wrong.
Double-check your baseurl setting in _config.yml. Remember, for project pages, it should be "/your-repository-name". For user/organization pages (where your site is at the root of yourusername.github.io), it should typically be left blank or set to "".
What is the Importance of a .nojekyll File?
In some niche cases, particularly if you are hosting a static site that is not built with Jekyll but is hosted on GitHub Pages (e.g., a pure HTML/CSS/JS site, or a site built with a different static site generator like Hugo), you might need a .nojekyll file in the root of your repository. This file tells GitHub Pages to skip the Jekyll build process entirely and simply serve the raw files in your repository. This is not typically needed if you are intentionally using Jekyll to build your site, as GitHub Pages will automatically detect your Jekyll setup and build it. However, it's a useful piece of knowledge for specific deployment scenarios where you want to bypass Jekyll.
For a standard Jekyll site, you do not need and should not include a .nojekyll file, as it would prevent your site from being processed by Jekyll.
By understanding and meticulously configuring your _config.yml file, you gain immense control over your Jekyll site's behavior and appearance on GitHub Pages. From setting correct URLs to managing plugins and optimizing performance, each setting plays a vital role in a seamless deployment. Regular testing, both locally and by reviewing GitHub Pages build logs, is your best friend in ensuring a smooth and successful online presence. The flexibility offered by Jekyll combined with the free hosting of GitHub Pages makes for a powerful duo for countless static web projects.